Introduction
Logging is an essential aspect of software development as it helps in monitoring and troubleshooting applications. In Java applications, the logging framework allows developers to control the verbosity and level of detail in log output. In this blog post, we will explore how to set logging levels using the application.properties file in a Spring Boot application. In this blog we will learn about How to set Logging Levels with application.properties.
1. Understanding Logging Levels:
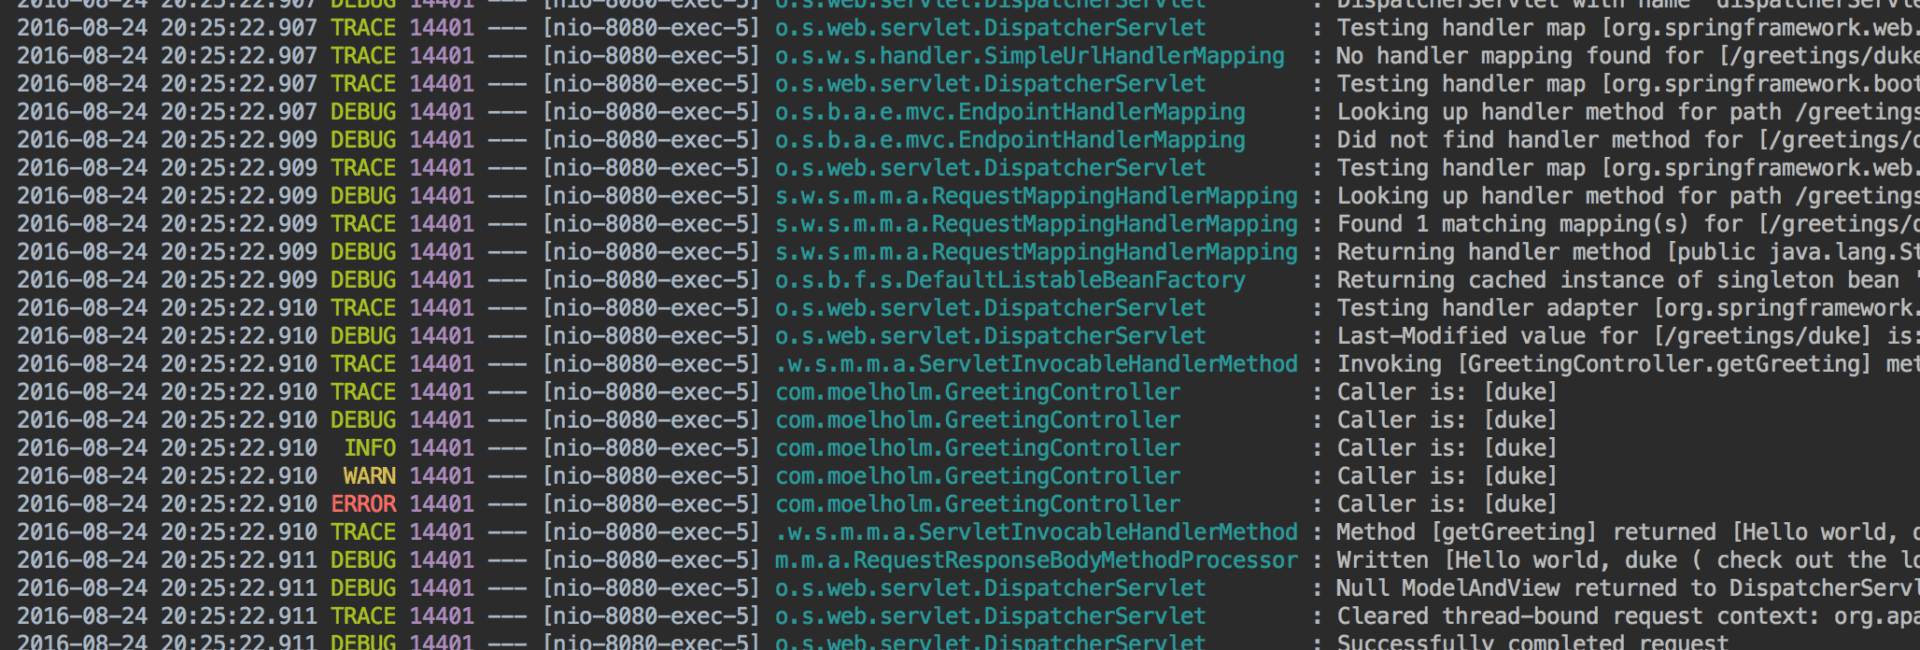
Logging levels define the severity or granularity of log messages. There are several levels available, each indicating a different level of detail:
- ERROR: Only logs error messages that indicate significant problems.
- WARN: Logs warning messages that indicate potential issues.
- INFO: Logs informational messages that provide general application status updates.
- DEBUG: Logs detailed messages useful for debugging and troubleshooting.
- TRACE: Logs highly detailed messages, including method-level information, used for in-depth debugging.
2. Configuring Logging Levels in Spring Boot:
In a Spring Boot application, logging levels can be configured through the application.properties file. Follow these steps:
2.1 Open the application.properties file:
The application.properties file is typically located in the src/main/resources directory of your Spring Boot project. Open it in your preferred text editor.
2.2 Specify the logger name and logging level:
To set the logging level, use the following property format:
logging.level.<logger-name>=<level>
Replace <logger-name> with the name of the logger or package for which you want to set the logging level. Use <level> to specify the desired logging level (e.g., ERROR, WARN, INFO, DEBUG, TRACE).
2.3 Set the logging level:
Add the appropriate properties to set the logging levels according to your requirements. For example, to set the logging level to DEBUG for the package com.example, use the following line:
logging.level.com.example=DEBUG3. Multiple Logging Level Configurations:
You can configure logging levels for multiple loggers or packages by adding separate properties for each. Each property should follow the format mentioned in Step 2.2.
4. Save and Restart the Application:
Save the application.properties file and restart your Spring Boot application for the changes to take effect. The logging framework will now use the specified logging levels for the configured loggers or packages.
Conclusion:
Setting logging levels using the application.properties file in a Spring Boot application provides flexibility in controlling the verbosity and detail of log output. By adjusting the logging levels, developers can easily manage log information and focus on specific areas during debugging or troubleshooting. Understanding and utilizing logging levels effectively contributes to maintaining robust and efficient software systems.
Remember that appropriate logging levels should be selected based on the specific needs of your application, and logging levels should be adjusted carefully to balance the amount of information logged with the impact on application performance and disk space usage.
Official Documentation: https://docs.spring.io/spring-boot/docs/2.1.13.RELEASE/reference/html/boot-features-logging.html